Discovering mold in your home or business can be unsettling. While prevention is important, there are times when mold remediation is necessary. Understanding the process helps you know what to expect and why each step is crucial for protecting both property and health.
This guide breaks down the step-by-step mold remediation process and shares best practices for effective and lasting results.
Why Remediation Is Essential
Simply wiping away visible mold isn’t enough. Mold spores are microscopic and can easily spread through the air or ventilation systems. Proper remediation ensures:
- Complete removal of contaminated materials
- Prevention of spore spread to clean areas
- Identification and correction of underlying moisture issues
- Restoration of safe indoor air quality
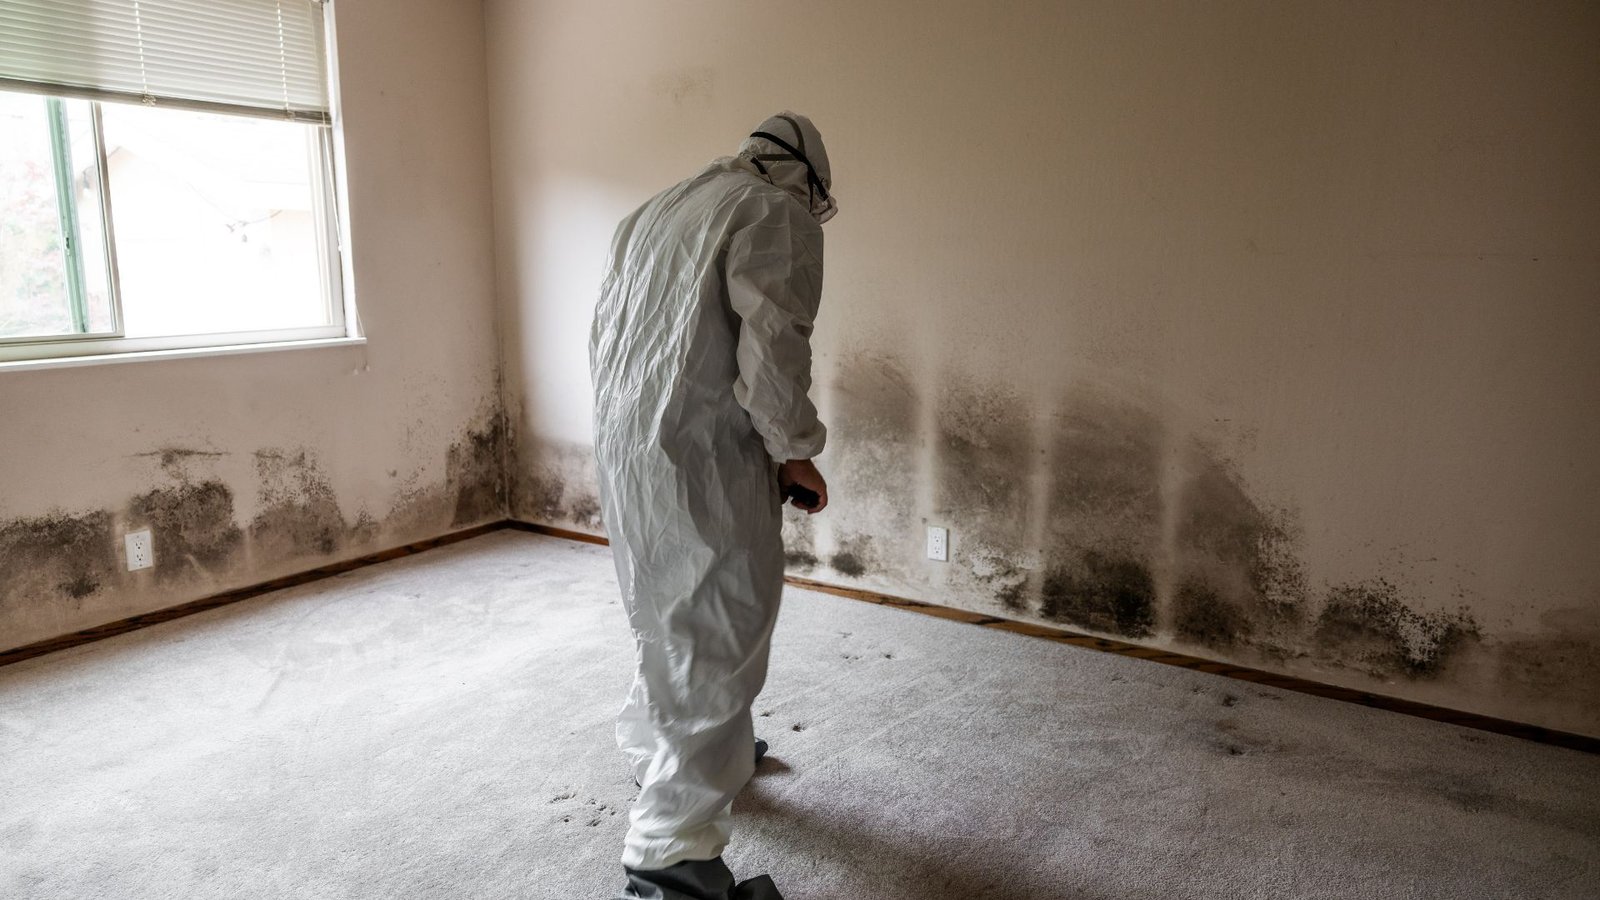
Step 1: Inspection & Assessment
A thorough inspection identifies:
- Areas of visible mold growth
- Hidden dampness behind walls, under flooring, or in HVAC systems
- The source of moisture that triggered growth
Moisture meters and thermal imaging are often used to detect hidden water damage.
Step 2: Containment
To prevent spores from spreading during cleanup:
- Plastic sheeting seals off contaminated zones
- Negative air pressure machines pull air inward, not outward
- HVAC systems are shut down in affected areas
- Workers use protective gear to avoid cross-contamination
Step 3: Air Filtration
HEPA air scrubbers and vacuums filter spores from the air. This step improves air quality and reduces the risk of spores traveling to unaffected spaces.
Step 4: Removal of Mold-Infested Materials
Not all materials can be salvaged. Porous items like drywall, insulation, and carpet often need to be removed. Items are carefully sealed in bags before disposal to avoid spreading spores.
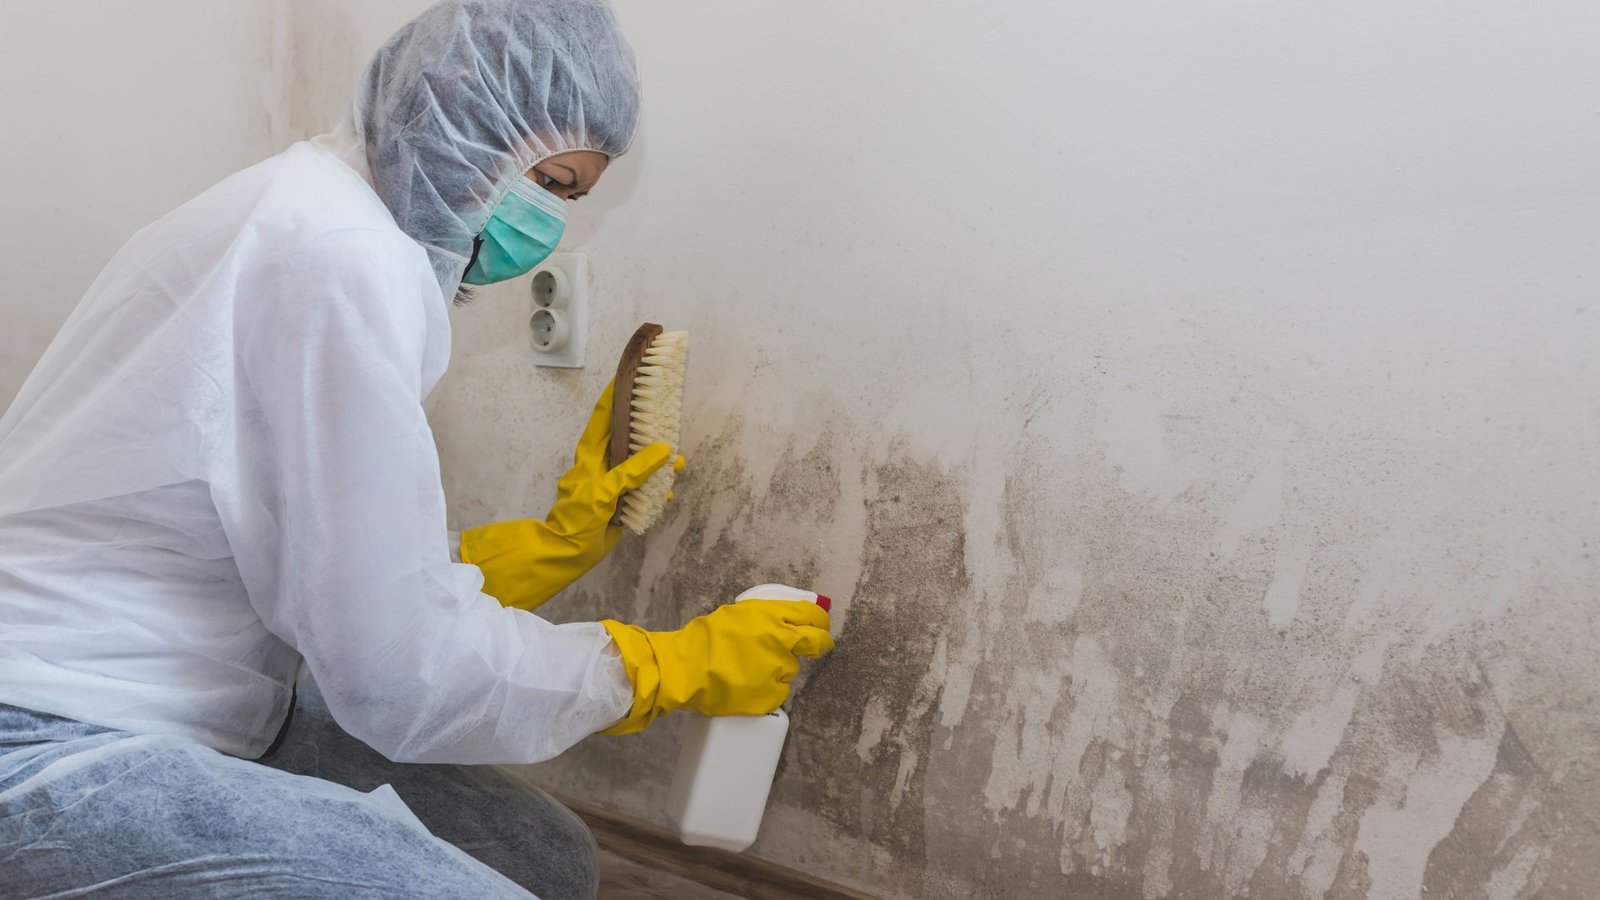
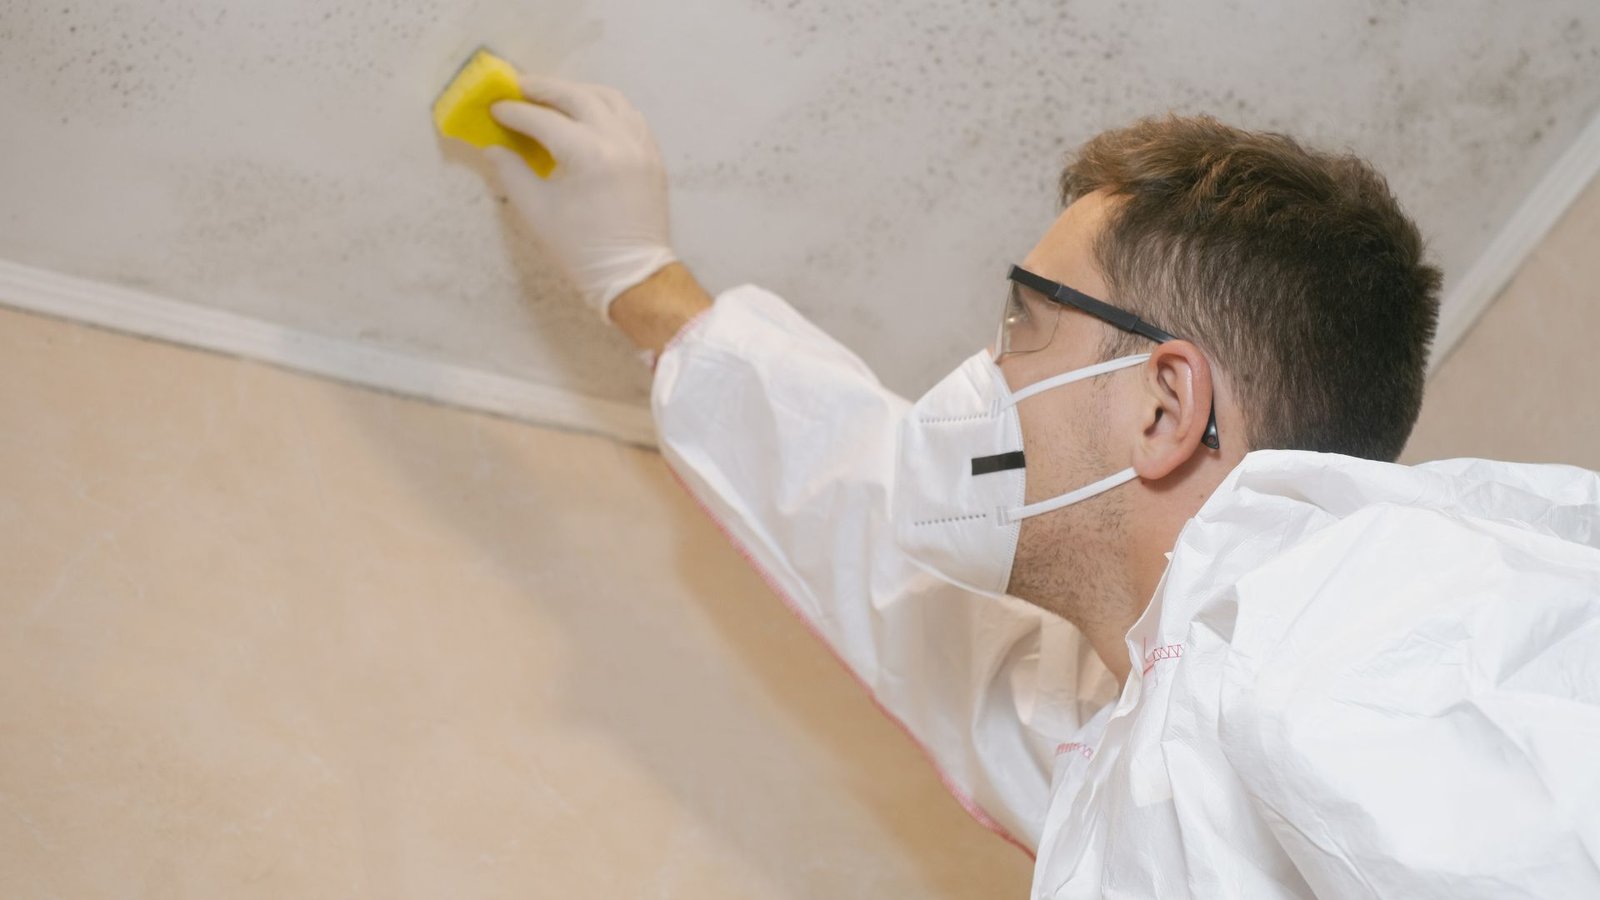
Step 5: Cleaning Surfaces
Non-porous surfaces like glass, metal, and tile can usually be cleaned with detergent and water. Scrubbing and wiping are combined with HEPA vacuuming to capture microscopic spores.
Step 6: Drying & Dehumidification
Drying is critical to prevent mold from coming back. Specialized dehumidifiers and air movers reduce moisture to safe levels before rebuilding begins.
Step 7: Restoration
The final step restores the property to its original condition. This may include:
- Installing new drywall or flooring
- Painting with mold-resistant coatings
- Repairing or sealing HVAC systems
- Rebuilding any structural elements removed during remediation
Safety Best Practices
- Always use protective equipment such as respirators, gloves, and goggles
- Do not mix chemical cleaners—some combinations can release harmful gases
- Avoid running fans that may spread spores during cleanup
- Keep detailed documentation with before-and-after photos
Professional Remediation Makes the Difference
Mold remediation isn’t just about cleaning—it’s about eliminating the source, containing the spread, and restoring safety. Professionals have the tools, training, and equipment to ensure lasting results.
Discover more about how specialists handle Mold Remediation and Prevention.
Ready to take action? Contact us today for expert support.